
The sheets arrive, you stack them in the garage, and the count was perfect. Then you hang them, start taping seams, and the bucket of joint compound is half gone before the first coat is even finished. By the second weekend you are back at the store buying a second bucket, another roll of tape, and a box of screws you were sure you already owned.
This is the most common way a drywall budget goes wrong, and it rarely has anything to do with the sheets. The sheet count is a simple area problem. Everything else on the list depends on how the job is laid out, how many seams you create, and how many coats the finish needs. Here is where the extra material actually goes, and how to plan for it before you check out.
Sheet Count Is the Easy Part
Counting sheets is arithmetic. A standard 4 by 8 sheet covers 32 square feet, a 4 by 12 covers 48, and you divide the total wall and ceiling area by the sheet size and round up. Almost everyone gets this part roughly right, which is why it gives a false sense of security about the rest of the list.
The trap is that sheet count tells you nothing about seam length. Two rooms with identical square footage can need very different amounts of tape and compound depending on how the boards are oriented, how many openings they cut around, and how many inside and outside corners the room has. A long, narrow room with a vaulted ceiling and three windows is a different job than a plain box, even if the area matches.
Why Seams Drive Everything Else
Every place two sheets meet is a seam, and every seam needs tape, at least two or three coats of compound, and sanding. Tapered edges, the slightly recessed long edges of a sheet, are designed to hold a tape and compound layer without leaving a visible bump. The short ends of a sheet are cut flat, which makes them harder to hide and usually needs a wider, more careful feathering of the compound.
That is why hanging sheets horizontally on walls often wins on finishing time. Running 4 by 8 or 4 by 12 sheets across the studs puts the long tapered edges together and cuts the number of flat butt joints. Hanging vertically on a standard 8 foot wall can look tidy, but you may end up with more of the harder joints, and more compound to hide them.
Joint Compound Disappears Faster Than You Think
Compound is where most budgets slip. A common rule of thumb says a 4.5 gallon bucket of ready-mixed compound finishes somewhere around 400 to 500 square feet of board, but treat that as a rough starting point, not a promise. Real use depends on how heavy a hand you have, how well the sheets were hung, and whether you are using lightweight or all-purpose mud.
New finishers use more. Gaps between sheets, screws set a little too deep, and ridges from a rushed first coat all demand extra material later. If you have never finished drywall before, plan on the high end of any estimate, and expect your second room to use noticeably less than your first. Buying one extra bucket up front costs less than the trip back, and unopened buckets are usually returnable.
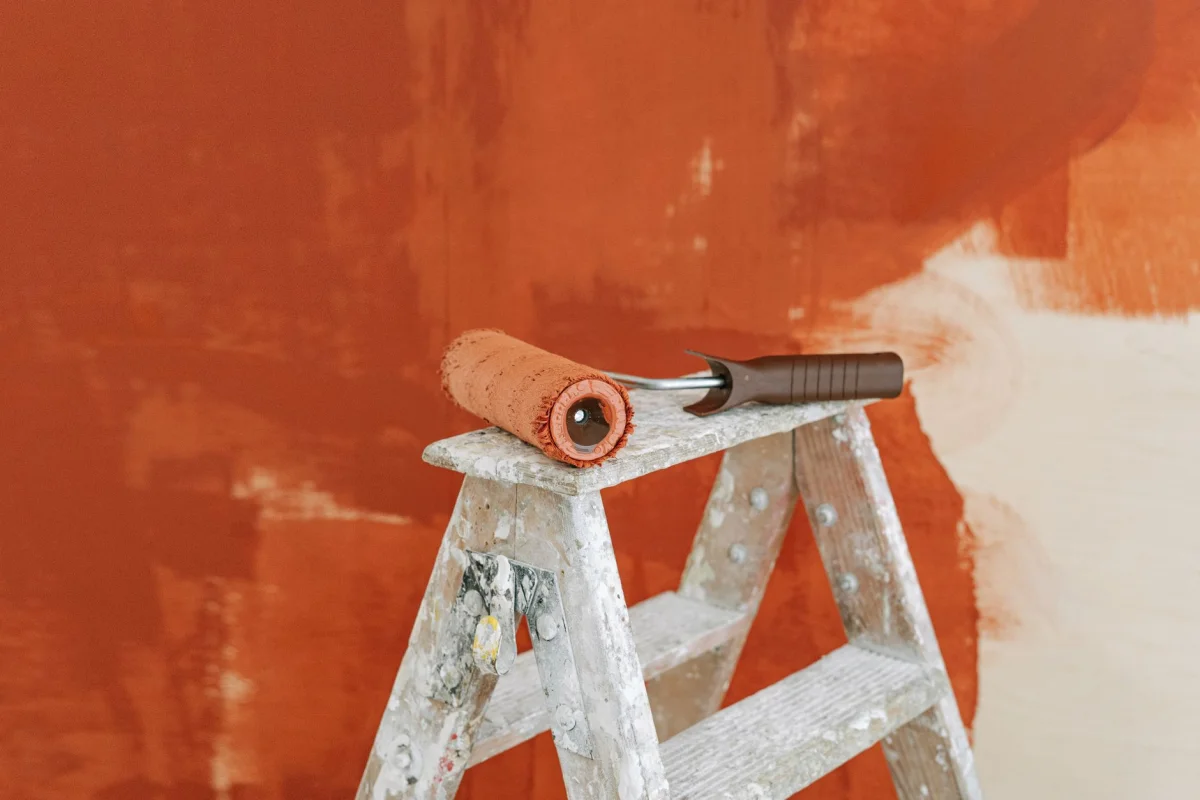
 Photo by Markus Winkler on Pexels
The Three Coats Nobody Budgets For
A typical finish is three passes: a bedding coat that embeds the tape, a second coat that fills and widens the seam, and a thin final coat that blends it into the surrounding paper. Each pass needs to dry before the next, and each one gets sanded. Many people budget for one coat because that is what they picture when they imagine "mudding."
The coats also get wider, not just deeper. A first coat might cover a few inches either side of the seam, and the last coat can feather out a foot or more so the edge disappears under paint. That widening is what eats compound at a rate that surprises people. The Gypsum Association publishes industry guidance on finish levels, and it is worth skimming to understand why a smooth, paint-ready wall needs more than a quick pass.
Tape, Screws, and Corner Bead Add Up
Paper tape and mesh tape come in rolls, commonly 250 or 500 feet. Seam length across a whole room is longer than most people expect, because you also tape inside corners and around the edges where the ceiling meets the walls. Count your seams in feet rather than guessing from the room size, and round up to the next roll.
Screws follow a similar pattern. Walls are usually fastened about every 16 inches along the studs, and ceilings tighter, around 12 inches, because gravity works against the board. That adds up to roughly one screw per square foot of board or a bit more, so a single room can use several hundred. Corner bead, the metal or plastic edge guard on outside corners, is sold in 8 or 10 foot sticks and gets cut to fit, so measure each corner and add a stick for the inevitable miscut.
Waste Is a Percentage, Not a Round-Up
Sheets get cut around windows, doors, outlets, and corners, and the offcuts often cannot be reused. A typical rule is to add 10 to 15 percent waste to the sheet count, with the higher end for rooms with lots of openings, odd angles, or a ceiling with multiple drops. Simple box rooms can sometimes get away with less.
The same logic applies to compound and tape, but in a different shape. For sheets, waste is leftover board. For compound, waste is the crust that dries on the pan, the batch that gets contaminated with dust, and the bucket you reopen a week later and find has skinned over. Keep lids tight and keep a spray bottle handy, and your effective yield goes up without spending a dollar.
Material Type Changes the Budget
Not every wall takes the same board. Standard half-inch panels are common on walls, while five-eighths inch board is often used on ceilings because it resists sagging, and in spots that need fire resistance. Moisture-resistant board belongs in bathrooms and similar rooms. The price per sheet varies, and so do weight and handling, so mixing types in one house means more than one line on the list.
If you are not sure what applies to your project, check your local building code before you buy. The International Code Council is the organization behind the model codes most jurisdictions adapt, and your local building department can tell you which version and requirements apply to your address.
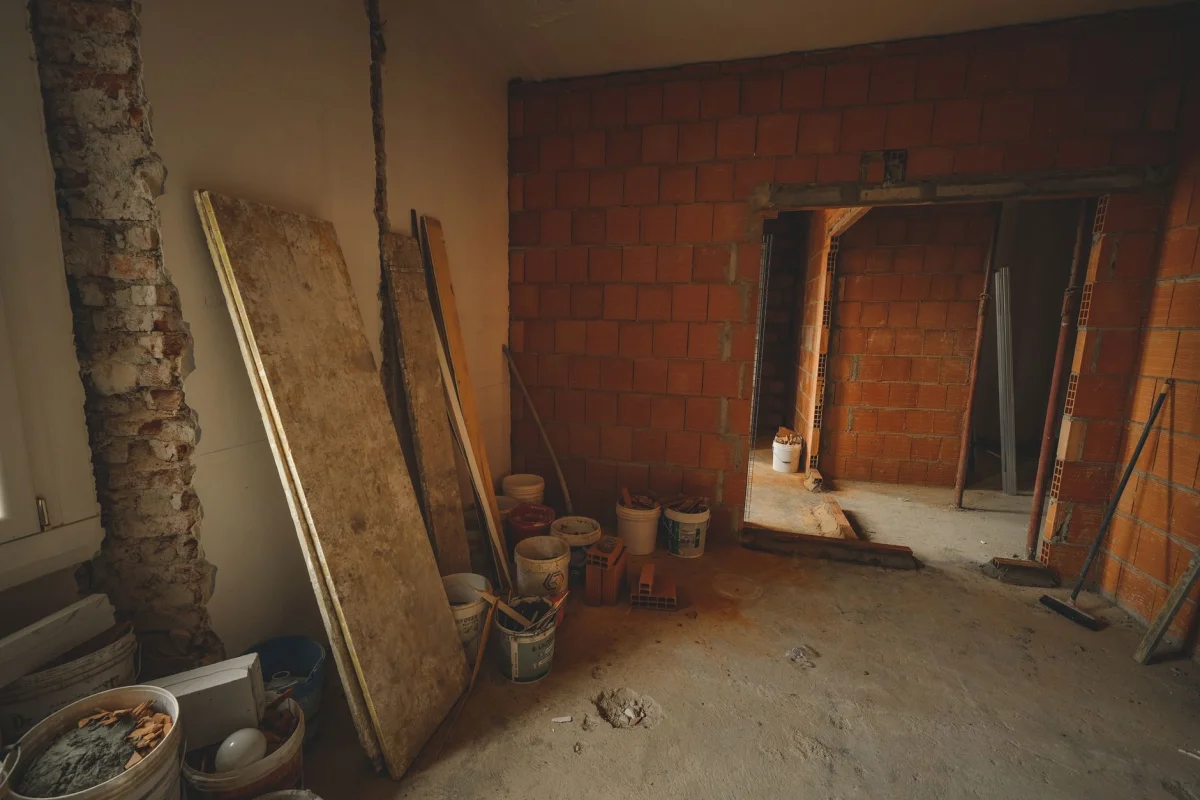
 Photo by Sema Bedia Bağçalı on Pexels
Dust, Disposal, and the Hidden Costs
Sanding finished compound makes a lot of fine dust, and it gets everywhere. A respirator rated for fine particles, plastic sheeting over doorways, and a sanding setup that connects to a vacuum are cheap compared with cleaning dust out of a whole house. Some compounds contain crystalline silica, so read the product's safety data sheet, and see the OSHA guidance on silica if you are doing a larger job.
Then there is disposal. Offcuts and old board are heavy and bulky, and many municipalities limit what goes in regular trash, so a dumpster rental or a dump run can quietly add to the total. If you are removing old drywall before hanging new board, that cost belongs on the same budget as the materials.
Ceilings, Closets, and Other Awkward Spots
Ceilings deserve their own line on the list. Boards are heavier to hold overhead, seams show more under raking light, and most people rent or borrow a panel lift or at least recruit a second pair of hands. If a helper cannot make it, that day of waiting is a cost even though it never appears on a receipt.
Small spaces are often worse per square foot than big ones. A closet or a short hallway has several corners, several cut pieces, and very little continuous wall, so the ratio of seam length to board area climbs fast. An estimate that works for a bedroom can undercount a bathroom with a tub surround, a soffit, and a window return, so treat each of those as its own mini job.
Patch work is its own category too. Repairing a water-damaged section or opening up a wall to move an outlet means cutting a precise piece, which wastes more board than a clean full sheet. The Family Handyman site is a widely read source of general how-to guidance if you want to see how experienced DIYers handle patches, and it is worth a read before you commit to a plan.
Putting It Into One Shopping List
The cleanest way to avoid a second trip is to build the list in the order the job unfolds. Start with sheets by wall and ceiling area, then add waste. Measure seams to get tape and compound, count corners to get bead, and multiply board area by your fastener spacing to get screws. Add a line for sanding supplies and a line for dust control.
A free Drywall Calculator by EvvyTools can do this arithmetic for a whole room in one pass, including a full shopping list of sheets, tape, mud, screws, and corner bead, so the numbers are consistent instead of scattered across scribbled notes. Use whatever result you get as a baseline, then adjust it for your own skill level and how tight your joints turn out. For more estimating tools covering other home projects, browse the tools directory, or see other explainers on the EvvyTools blog.
When a Second Trip Is Actually Fine
Even a careful list will occasionally miss. Unopened buckets, boxes of screws, and full rolls of tape are usually returnable, so the cheap insurance is to buy slightly more than you expect and return what you did not use. The expensive mistake is running out of compound mid-coat and letting a half-finished wall sit for days.
If you want to double-check how the material is described in general terms, the Wikipedia article on drywall is a decent overview of sheet types and standard sizes. For more everyday tools, tips, and calculators from the same site, the EvvyTools homepage has the full list.