
The label on the can says a gallon covers about 400 square feet. You measure the room, do the division, buy exactly the right number of gallons, and then run dry with one wall still showing the old color. It feels like a mistake in your math, but most of the time the math was fine and the number on the can was the problem.
Coverage figures on paint labels describe a best case. They assume a smooth, previously painted surface, a modest color change, and a careful application. Real rooms rarely match that description, and the gap between the label and the wall is where the missing paint went. This guide explains what eats into coverage, how to account for each factor, and how to land on a quantity that leaves you with a small leftover instead of a second trip to the store.
What the Coverage Number on the Can Really Means
Paint manufacturers publish a spread rate, usually expressed as square feet per gallon. Brands such as Sherwin-Williams and Benjamin Moore list it on the can and on the product data sheet, and for many interior paints it lands somewhere around 350 to 400 square feet. That figure comes from a controlled application rate, meaning a specific thickness of wet film laid down evenly on a surface that is not absorbing much of it.
Two things follow from that. First, the number is for one coat. If your project needs two coats, which is common, a gallon covers half the area you thought it did. Second, the figure is a ceiling, not an average. Hitting it requires smooth, sealed walls and an even hand, and every departure from that pushes the real number down.
It also helps to know that different products in the same line can spread differently. A thick, high-hiding paint may cover a little less area per gallon than a thinner one, because you are laying down more solids per square foot. The data sheet for your exact product is a better guide than a general rule of thumb.
 Photo by Anete Lusina on Pexels
Why Surface Texture Changes the Math
A smooth wall presents a flat plane, and paint spreads across it about as far as the label suggests. A textured wall is a different surface. Orange peel, knockdown, popcorn, brick, stucco, and rough plaster all have more actual surface area than the flat footprint of the wall, and the dips hold extra paint that never contributes to hiding what is underneath.
There is no single correction that fits every texture, which is why professional estimators tend to adjust by feel and experience. As a planning habit, assume a light texture costs you a noticeable chunk of coverage and a heavy texture, such as stucco or rough masonry, can cut it by a third or more. The thicker the nap on your roller cover, the more paint it carries into those low spots.
If you are not sure how rough your walls are, run your hand across them in raking light, with a lamp held close to the surface. Anything you can see casting small shadows will drink paint faster than a flat wall of the same size.
Bare Drywall, Patches and Porous Walls Drink Paint
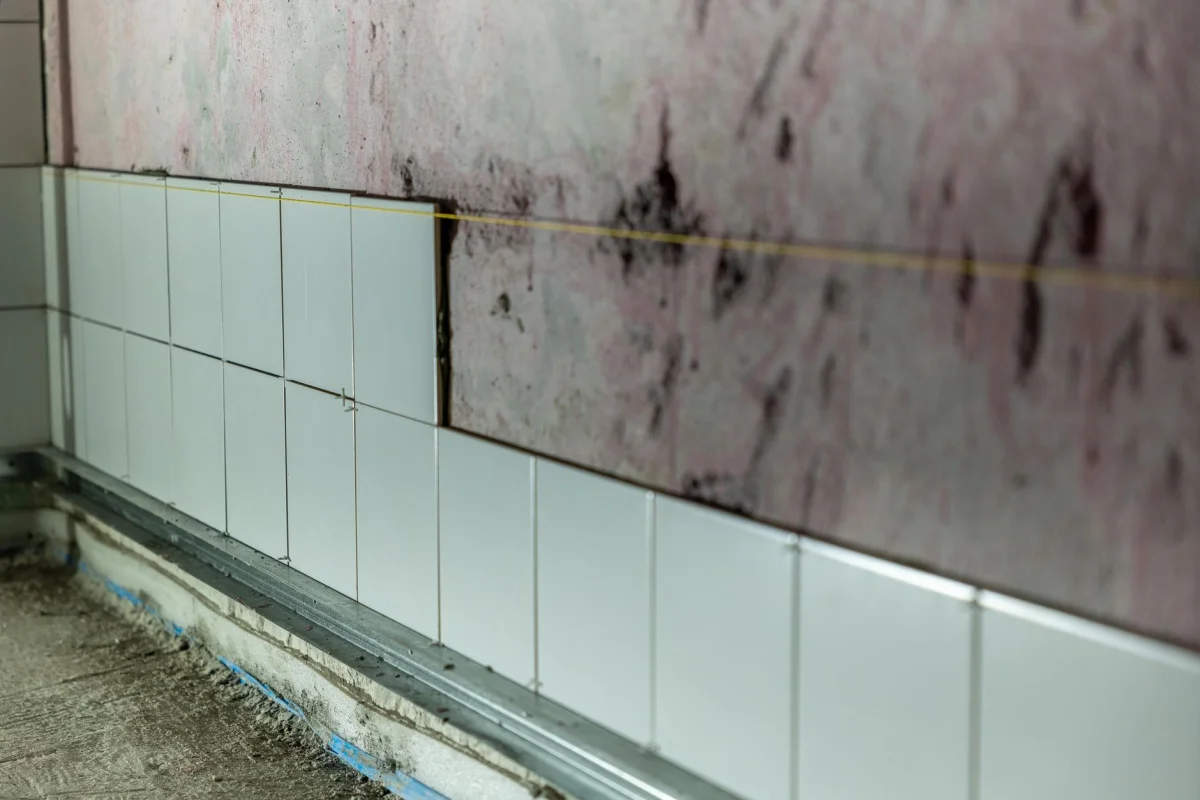
Fresh drywall is thirsty. The paper face and the joint compound both soak up the first coat of regular paint unevenly, which is why bare drywall needs a primer or a dedicated drywall primer coat before color goes on. Skip that step and your first coat of expensive paint ends up doing the primer's job, and you will use more of it to get an even finish.
The same thing happens on a smaller scale with patches. Every spot of spackle or joint compound you sanded smooth will absorb paint differently from the sealed wall around it, and it can show up as a dull, flat spot through the finished coat. Spot-priming those repairs before you roll the walls evens things out and keeps paint from disappearing into them.
Old, chalky paint and bare plaster can also be porous. If you drag a damp finger across a wall and it comes away with a powdery residue, the surface is going to absorb more than a clean, glossy one. A coat of primer-sealer is cheaper than the extra gallon of finish paint you would otherwise burn through.
Big Color Changes Mean More Coats
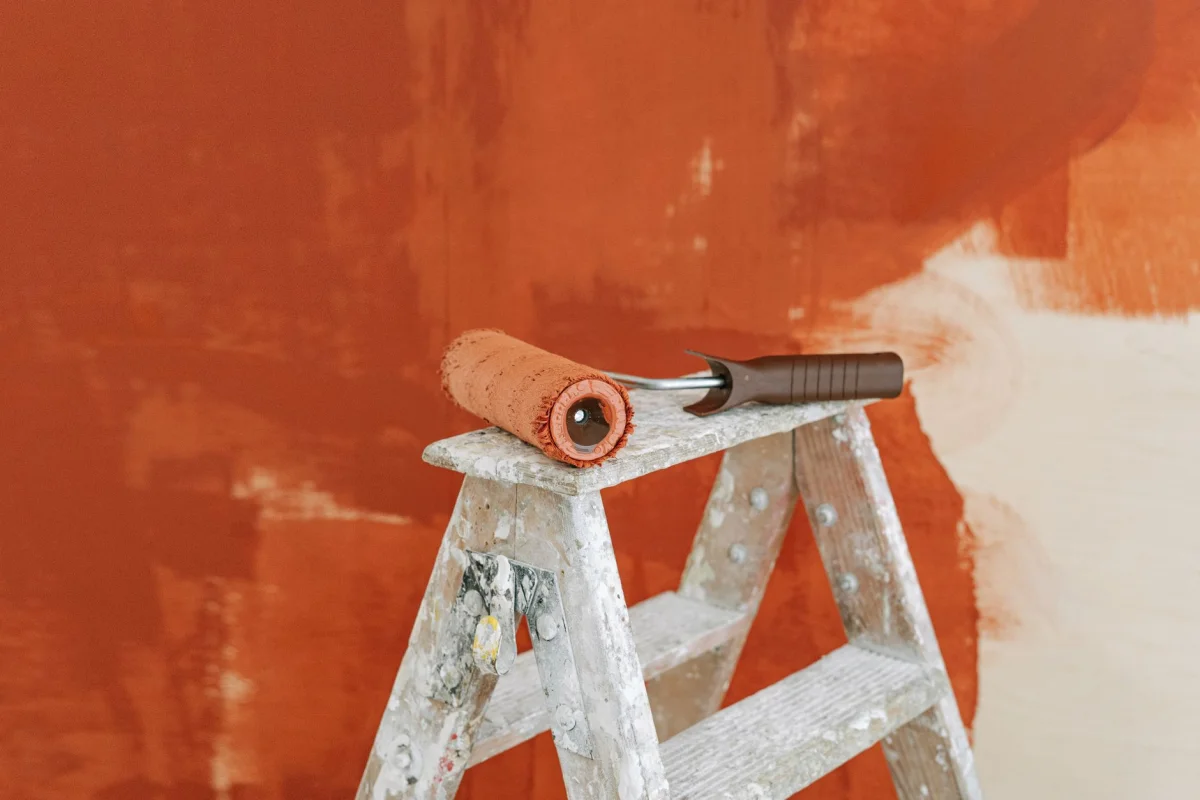
Hiding power is the other big variable. Going from a mid-tone beige to a similar mid-tone beige is easy, and one coat plus a light touch-up may do it. Going from a deep red or navy to a pale off-white is a very different project, because the old color keeps showing through until enough pigment has been laid on top.
Deep, saturated colors are the hard ones in the other direction as well. Many bold reds, yellows, and some blues are translucent by nature, so they often need a tinted primer underneath and two or even three coats for solid coverage. A primer tinted toward the finish color gives the topcoat a head start and cuts the number of coats you pay for.
The practical rule is to plan for two coats of finish on almost any wall unless you are repainting nearly the same shade over a sound surface. Plan for a primer coat as a separate line item, because it is a separate gallon, and the label figure applies to it too. The Painting and Decorating Contractors of America publishes industry standards that are worth a look if you want to see why professionals count coats this way.
Measuring the Room So the Starting Number Is Honest
The wrong coverage assumption is one source of error. The area you feed into the calculation is another, and it is easy to get wrong in both directions. Start with the perimeter of the room, meaning the sum of all four wall lengths, and multiply by the ceiling height. That gives the gross wall area before you take anything out.
Next, subtract the openings. A standard interior door is roughly 20 square feet and an average window is somewhere around 15, though large windows and sliding doors take out much more. Many painters only subtract the biggest openings and ignore the small ones, since the extra paint covers the trim cut-in and a little waste anyway. Whichever habit you follow, apply it the same way to every room so you do not drift.
Then decide what else is being painted. Ceilings use the same finish across a flat surface, but they are usually a different product, so they belong in their own quantity. Trim, baseboards, crown molding, and door casings are measured by length and typically use a different sheen, so treat them as a separate, small order rather than hiding them inside the wall total.
 Photo by Ksenia Chernaya on Pexels
A Worked Example With a Typical Bedroom
Here is a round-number illustration. A bedroom measures 12 feet by 14 feet with 8-foot ceilings. The perimeter is 52 feet, so the gross wall area is 52 times 8, which is 416 square feet. Subtract one door at 20 and two windows at 15 each, for 50 square feet of openings, and you are left with 366 square feet of wall.
On paper, one gallon at 400 square feet per coat covers that room once with room to spare. Two coats need 732 square feet, which is a little under two gallons at the label rate. That is the number most people carry to the store, and it is the best-case answer.
Now apply some reality. Suppose the walls have a light orange peel texture and you are moving from a medium tan to a pale gray. A conservative 300 square feet per gallon is a fair planning figure for that situation, and two coats at 366 square feet is still 732 square feet of paint to lay down. Divided by 300, that comes to 2.44 gallons, which rounds up to three. The label said two, the wall said three, and the gap is one gallon of paint plus the second trip you avoided by planning for it.
Waste, Cut-In and the Paint That Never Reaches the Wall
Even on a good day, not every drop lands on the wall. Some paint stays in the roller cover, which holds a surprising amount when it is new and squeezed out only when you finally wash it. Some dries on the lip of the can and the edge of the tray. Some goes on the brush when you cut in along ceilings and corners, and some ends up on the drop cloth.
A loss of five to ten percent is normal for a careful DIY job, and it can climb higher in a room with lots of corners, built-in shelving, or tall stairwell walls where you are working off a ladder. Building that margin into the plan is the difference between a small, usable leftover and an empty can with a patch still to do.
Keep in mind that leftover paint is not wasted, either. A small amount of the exact color in a sealed can is the cheapest touch-up kit you will ever own. Write the room, the color name, and the date on the lid, and store the can somewhere that does not freeze. If you are unsure how to handle unwanted paint, the EPA has guidance on disposing of leftover household paint responsibly, and many areas have collection programs for old cans.
Turning All of This Into a Shopping List
The cleanest way to get through the arithmetic without losing a step is to do it room by room and surface by surface. A tool like the Paint Calculator lets you enter room dimensions, subtract doors and windows, and see separate gallon figures for walls, ceiling, and trim. That separation matters, because walls, ceiling, and trim are three different products and you do not want to buy them as one lump sum.
A useful habit is to run the numbers twice. Do it once with the label coverage to get your best-case quantity, then again with a more conservative figure for your actual surface and color change. If the two answers round to the same number of gallons, you can buy with confidence. If they straddle a gallon boundary, buy the higher number, or buy the lower number plus a quart if you want to keep costs tight.
It also pays to check the price per gallon against the price per quart before you commit. Two gallons plus a quart is often cheaper than three gallons when the finish is expensive, and a quart is easy to carry back if you need it. The rest of the calculators in our tools directory are built around the same idea of estimating before you buy.
 Photo by cottonbro studio on Pexels
How to Avoid Running Short Halfway Through
Tinted paint is mixed to order, and a second batch of the same color can come out a shade different from the first. That is why running out of paint partway down a wall is more than an annoyance: the new gallon may not match the old one perfectly, and the seam can show in the right light. The standard fix is to box the paint, which means pouring all your gallons of the same color into one large bucket and mixing them together before you start.
Boxing also helps with consistency across the whole room, because the first and last gallon are no longer two slightly different batches. Pour, stir, and work from the bucket. If you have a single gallon and do not have enough for a second coat everywhere, finish the visible walls with the full amount and decide what to do about the rest before you cut in.
Finally, think about timing. Paint stored in a half-full can will skin over and thicken faster than a nearly full one, so a small leftover amount in a gallon can is more likely to be unusable by next year. Pour it into a smaller jar or a quart can, press out the air, and seal the lid tightly. The longer guides on our blog hub cover more of the numbers behind home projects like this one, including how to build a materials list so you buy once.
 Photo by Ksenia Chernaya on Pexels
The Short Version for Your Next Room
The coverage number on a can is a best case on a smooth, sealed wall with one coat. Texture, bare or patched drywall, a big color change, and ordinary waste all pull it down, and two coats cut it in half again. If you plan around the label figure alone, you will run short more often than not.
Measure honestly, subtract the openings consistently, pick a coverage figure that fits your actual walls, and plan for two coats plus a primer where the surface needs one. Round up, mix your gallons together, and keep the leftover in a small sealed container. A few minutes of arithmetic before the store trip is a lot cheaper than a second one halfway through the job.