
A contractor friend who does residential inspections for a mid-sized township once told me stairs cause more callback inspections than decks, electrical panels, and framing combined. Not because homeowners are careless. Because stairs are the one part of a house where being off by a quarter inch, repeated over twelve or fourteen steps, turns into a hazard the code was specifically written to prevent.
Most people who build or rebuild a staircase measure carefully. They just don't realize the numbers they're measuring aren't the numbers an inspector is checking.
 Photo by Tahir Osman on Pexels
The Two Numbers That Decide Whether Your Stairs Pass
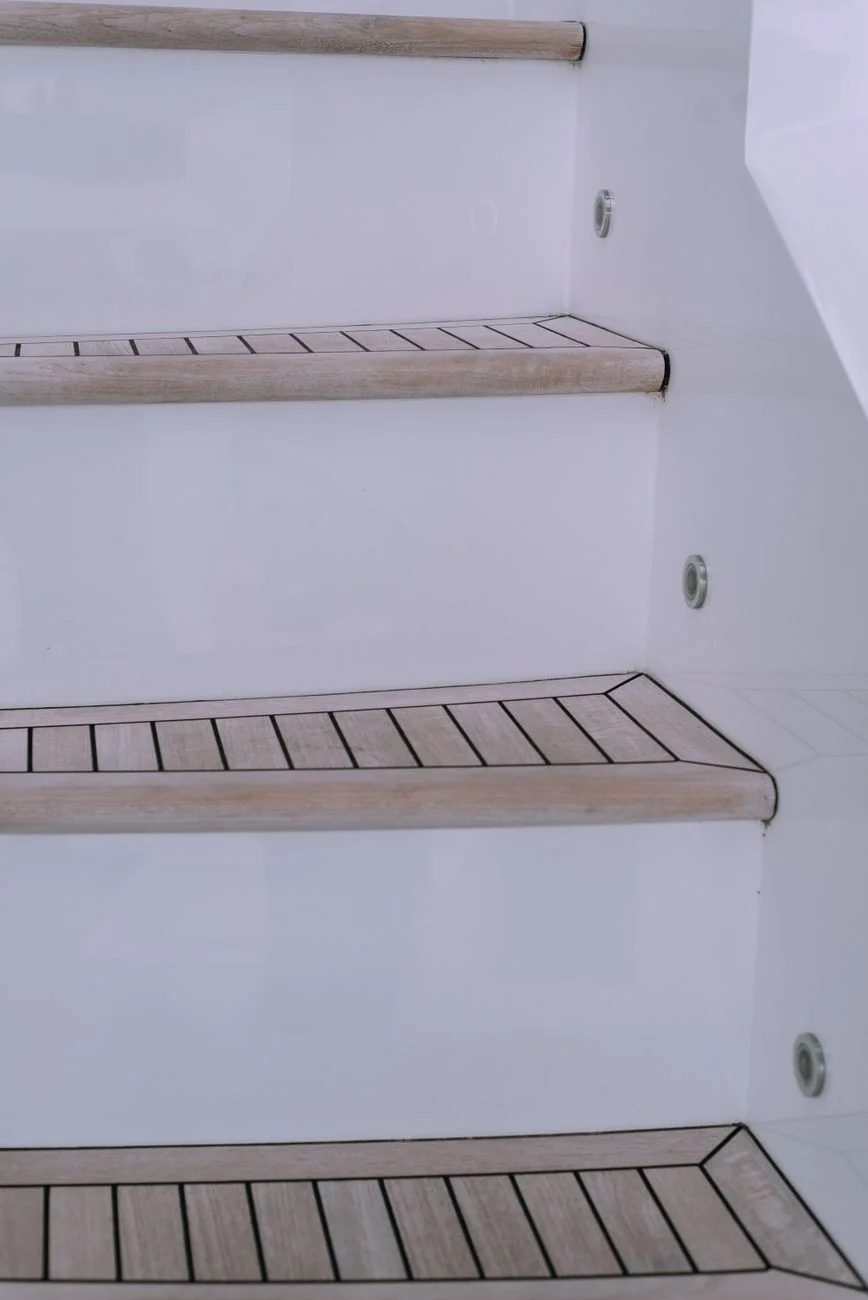
Every residential building code in the United States traces its stair requirements back to the International Residential Code, and the two numbers that matter most are riser height and tread depth. Under the IRC, a single riser can't exceed 7.75 inches, and a tread can't be shallower than 10 inches. Those aren't suggestions. They're the maximum and minimum an inspector will pull out a tape measure to check.
The part that trips people up isn't hitting those numbers once. It's hitting them consistently. The code also limits how much any single riser in a flight can vary from the others, typically to no more than three eighths of an inch. You can build a staircase where every riser individually falls under 7.75 inches and still fail inspection because riser four is a half inch taller than riser nine.
Why "Close Enough" Doesn't Work With Stair Geometry
A staircase is one of the few things you build in a house where a small error doesn't stay small. If you're framing a stud wall and you're an eighth of an inch off, nobody notices. If you're cutting stair stringers and your rise-per-step calculation is off by an eighth of an inch, that error gets baked into every single step, and by the time you reach the top the cumulative drift can be visible, and dangerous, even if no individual step looks wrong.
This is the actual mechanism behind most stair inspection failures. Someone measures floor-to-floor height, divides by a round number of steps, and gets a riser height that seems reasonable. What they don't do is double check that dividing evenly by that many risers gives a number under 7.75 inches, and that every riser in the run comes out within the code's variance tolerance once real-world cuts and shims are factored in.
Headroom and Handrail Height Fail Almost as Often
Riser and tread numbers get the most attention, but two other measurements cause a large share of failures too. The IRC requires a minimum of 6 feet 8 inches of headroom measured vertically from the nose of any tread to the ceiling or header above it, and handrails need to sit between 34 and 38 inches above the tread nosing. Both numbers are easy to get wrong on an existing structure, where a header beam or a low ceiling was never designed with a staircase's headroom clearance in mind.
Where the Stringer Cut Actually Goes Wrong
The framing square and story pole method for laying out stair stringers is one of the oldest techniques in residential carpentry, and it still works. The problem isn't the method. It's that the method assumes a starting number that's already correct, and most DIY stringer layouts start from a floor-to-floor measurement that was rounded, not measured precisely.
A few specific mistakes show up over and over on stringers that fail inspection:
- Measuring floor-to-floor height at one point instead of checking it at both ends of the stair run, where uneven subfloors can create a difference of half an inch or more.
- Forgetting to account for the thickness of the finished flooring that hasn't been installed yet at the top or bottom landing.
- Rounding the calculated riser height to the nearest convenient fraction instead of using the exact number the total rise divided by the step count actually produces.
- Cutting the first stringer, checking it against the opening, and cutting the remaining stringers to match the first without re-verifying every riser individually.
 Photo by Ono Kosuki on Pexels
The Story Pole Habit That Actually Prevents This
Carpenters who rarely fail stair inspections almost universally use a story pole, a single straight board marked with the actual riser height, checked against the pole after every stringer cut rather than trusted from memory. It's a low-tech habit, but it catches drift immediately instead of letting it accumulate silently across a dozen cuts.
 Photo by Mazin Omron on Pexels
What a Failed Inspection Actually Costs You
A failed stair inspection is rarely just a quick fix. Once a stringer is cut wrong, correcting the riser heights usually means re-cutting the stringers entirely, which means pulling the treads and risers already attached, and in a lot of cases reordering lumber because the original stock got shortened during the first cut. On a renovation with a permit timeline, a failed inspection also means scheduling a re-inspection, which on many municipal calendars adds another one to three weeks before the project can move forward.
There's a safety dimension too, separate from the code paperwork. Research on residential falls consistently identifies uneven stair risers as a measurable contributing factor, because the body adjusts to a rhythm after the first two or three steps and stops consciously checking each one. A single riser that's taller or shorter than the rest, buried in the middle of a flight, is exactly the kind of inconsistency that causes a misstep.
Checking Your Numbers Before the Inspector Does
The fix for almost all of this is checking the full set of numbers before a single stringer gets cut, not after. That means working out total rise, number of risers, exact riser height, tread depth, headroom clearance, and stringer length together, as one calculation, rather than solving each piece separately and hoping they line up.
That's the exact gap the free Stair Calculator by EvvyTools is built to close. Enter the total floor-to-floor height and it works out riser height, tread depth, and stringer length together, flags anything that falls outside IRC limits, and shows a real-time side-view diagram so you can see the layout before you touch a saw. For a project where a quarter-inch error repeated across twelve steps is the actual failure mode, checking the math once at the start is a lot cheaper than re-cutting stringers after a failed inspection.
Interior Stairs vs. Deck and Exterior Stairs
The rise and tread rules above cover interior stairs, but exterior stairs, including deck stairs, follow a related but not identical set of numbers under the IRC, and a lot of DIYers assume the same measurements carry over directly. They mostly do, with one common exception: many jurisdictions apply slightly different rules once a landing sits on grade rather than a finished floor, and drainage slope on an exterior tread can eat into the effective depth in a way an interior tread never has to account for.
This is one of the more common gaps between a stair calculator's default assumptions and a specific project's reality. A calculator built around IRC baseline numbers gets you a compliant starting point, but it's still worth checking your local building department's amendments before finalizing a deck stair layout, since exterior-specific tweaks are exactly the kind of local code variation that base national numbers won't flag on their own.
When It's Worth Bringing in a Contractor Anyway
Not every staircase is a reasonable DIY project even with the numbers checked correctly. Spiral stairs, anything supporting a structural load beyond its own weight, and stairs in a code jurisdiction with stricter local amendments than the base IRC are all situations where the math is the easy part and the structural engineering or permit navigation is where a licensed contractor earns their fee. If your local building department requires a stamped drawing for stair modifications, that's a sign the project has moved past a calculator and a tape measure.
For most straightforward interior or deck staircase rebuilds, though, the code failures that show up at inspection time trace back to the same handful of measurement gaps covered here, and they're catchable well before an inspector ever shows up with a tape measure of their own.
 Photo by Anete Lusina on Pexels
The Broader Pattern in Home Renovation Math
Stairs aren't unique in this respect, they're just the most visible example of a pattern that shows up across a lot of home projects: code and material requirements are exact numbers, not rules of thumb, and small errors compound differently depending on what you're building. A tape measure and a calculator get you most of the way there for a lot of renovation work, but stairs are one of the few places where getting the geometry wrong doesn't just waste material, it creates a fall hazard the International Code Council wrote specific rules to prevent, and that the Occupational Safety and Health Administration tracks as a leading cause of home and workplace injuries.
Groups like the National Association of Home Builders and renovation references such as This Old House both point to the same underlying lesson: on a staircase, checking your numbers before you cut is the entire job, not a formality on top of it.
If you're planning a stair rebuild, working through the full set of code numbers together, rather than one at a time, is the difference between a project that passes inspection on the first visit and one that doesn't. Beyond stairs, the EvvyTools tools directory covers concrete, flooring, decking, and a dozen other renovation calculators built around the same idea: check the real numbers before the materials show up. For more breakdowns like this one, the EvvyTools blog covers the code and material math behind other common renovation projects, and EvvyTools itself hosts the full catalog of free calculators these guides are built around.