

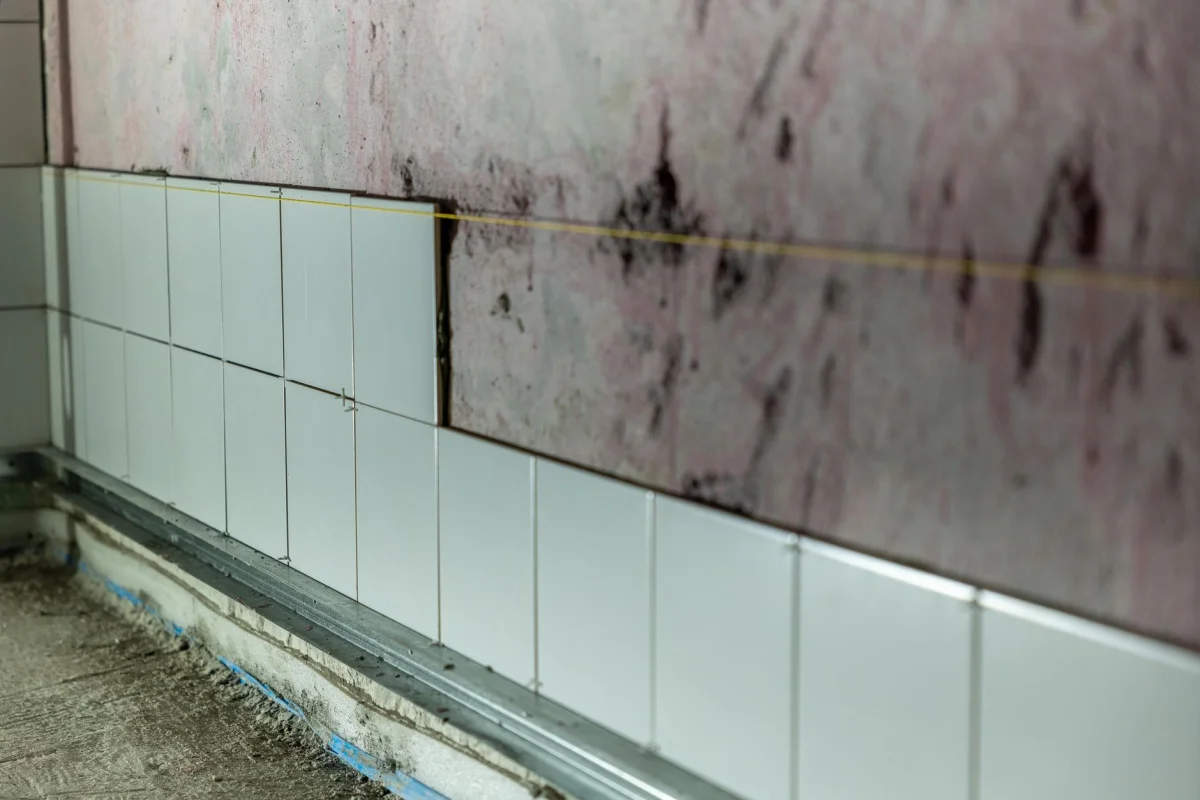
Picture two bathroom floors of exactly the same size. One is covered in big 12 inch squares and the other in tiny 2 inch mosaic squares, and both use the same 1/8 inch grout line. A shopper who counts tiles by dividing the floor area by the area of one tile will be close on the first floor and noticeably off on the second.
The difference is the grout line itself. Every joint takes up space that no tile can occupy, so the width of that gap quietly changes how many tiles fit, and how much grout you need to fill it. This article walks through why that happens, how big the effect really is, and where it can safely be ignored.
Every Tile Owns a Slice of the Joint
The usual shortcut for counting tiles is simple. Divide the surface area by the area of a single tile, and round up. That works only if tiles touch edge to edge, which they never do on a real job.
A better way to think about it is that each tile owns half of the joint on every side. A 12 inch tile with a 1/8 inch joint effectively covers a 12.125 inch square, because the gap is shared with its neighbors. That square is slightly larger than the tile, so fewer tiles are needed to cover the same floor.
This is the whole idea in one sentence: the tile plus its share of the joint is the unit that actually repeats across the surface. If you want the vocabulary, the Wikipedia article on grout describes the material that fills those gaps, and the article on tiles covers the broader family of materials this applies to.
 Photo by mas_hha on Pexels
Putting Numbers on the Effect
Take a 120 square foot floor, which is 17,280 square inches. With 12 inch tiles and no joint at all, you would need exactly 120 tiles. Add a 1/8 inch joint and each tile covers about 147 square inches instead of 144, so the count drops to roughly 117.5. A quarter inch joint pushes it down to about 115.
Now move to 6 inch tiles on the same floor. With no joint you would count 480. A 1/8 inch joint brings that to about 461, and a quarter inch joint to about 442. The joint did not change, but the savings in tiles grew because there are more joints per square foot.
The pattern is consistent. The smaller the tile, the more of the floor is joint, and the more your joint width decides the final count. At 12 inches a 1/8 inch joint accounts for about 2 percent of the surface, at 6 inches it is about 4 percent, and at 2 inches it is more than 11 percent.
Why Mosaics Are the Extreme Case
Mosaic sheets are where the difference stops being a rounding detail. A 2 inch square with a 1/8 inch joint covers about 4.5 square inches of floor instead of 4. On that 120 square foot floor you would count 4,320 tiles with no joint and only about 3,830 with the joint, a gap of nearly 500 tiles.
Most people buy mosaics on mesh sheets, so they never count individual pieces, but the same math sits underneath the sheet size. The manufacturer builds the joint into the sheet spacing, which is why a sheet labeled as covering one square foot can look slightly different from one tile by tile arithmetic. The Wikipedia entry on mosaics gives a sense of how old and varied this way of covering a surface is.
The practical lesson is to read the sheet coverage on the box instead of recomputing it from the single tile size. When you are mixing a mosaic border into a larger field of tile, remember that the two areas can have very different joint shares.
Joint Width Also Sets Your Grout Quantity
Tile count is only half the story. The grout you need is the volume of all those gaps, which depends on three things: the joint width, the tile size, and the tile thickness. Wider joints, smaller tiles, and thicker tiles all mean more grout.
Here is the contrast in round numbers. A 12 inch by 12 inch tile that is 3/8 inch thick with a 1/8 inch joint needs about 1.1 cubic inches of grout per square foot. A 2 inch mosaic that is 1/4 inch thick with the same joint needs about 4.1 cubic inches per square foot, close to four times as much, even though the joint width is identical.
Double the joint on the 12 inch tile to a quarter inch and the grout volume roughly doubles to about 2.2 cubic inches per square foot. That is why joint width is the single easiest lever to change on a project, and also the one most likely to blow a budget if you set it without checking.
What Decides the Joint You Can Actually Use
You do not get to pick any width you like. Tiles that are not perfectly uniform need wider joints to hide the variation, and installers often follow a rule of thumb that the joint should be at least three times the variation in tile size. Rectified tiles, which are cut after firing to tighter tolerances, allow narrower joints, often 1/16 inch to 1/8 inch.
Industry standards and handbooks from groups like the Tile Council of North America are where installers look for minimum joint widths and for guidance on movement joints. Always read the manufacturer's installation instructions for the specific tile you buy, because they can override a general rule.
Layout also matters. Tiles that are laid in a brick or offset pattern look best with consistent joints, and warped large format tiles can force a wider joint to keep edges from sticking up. Joint width is a design choice, but it is a choice bounded by the product.
 Photo by Алан Албегов on Pexels
How Pattern Changes the Math
Straight lay patterns are the easiest to count, because the joint effect is uniform across the surface. Diagonal and herringbone layouts add waste for cut tiles along the walls, but the joint effect on the tile count stays the same. A herringbone pattern with narrow rectangular tiles has a lot of joint length per square foot, which makes the grout estimate more sensitive to width than a plain square layout.
Waste is the other half of ordering. Cuts at edges, breakage, and a few spares for future repairs all push the order above the net count. Many installers add 10 percent for straight layouts and more for diagonal or intricate patterns, but the right number depends on the room shape and the skill of whoever is cutting.
The joint effect and the waste effect point in opposite directions. The joint trims the net count slightly, and waste adds a cushion on top. Treat them separately, and do not let a small joint saving talk you out of ordering extra.
When You Can Ignore Joint Width
For large tiles with narrow joints, the effect is small enough to disappear inside your waste allowance. A 24 inch tile with a 1/16 inch joint changes the tile count by about half a percent, which on a 120 square foot floor is less than one tile. If you are already adding 10 percent for waste, you can skip the adjustment and still be safe.
The same goes for a quick budgeting pass. If you are comparing two tile options at a store and only need a rough figure, the simple area divided by tile area method is fine. Save the joint math for the real order.
Where it stops being safe to ignore is anywhere with small tiles, wide joints, or a tight budget. A 6 inch tile with a quarter inch joint on a big floor is a place where the adjustment can be a full box or more.
Letting a Calculator Handle the Layers
Putting all of this together by hand means tracking tile size, joint width, thickness, pattern, waste, and the grout volume, then converting everything to the units each product is sold in. It is not difficult, but it is easy to drop a term, especially when you change one value and forget the others.
The free Tile Calculator by EvvyTools is built for this. It calculates tile quantity for floors, walls, and multi-surface projects while accounting for layout pattern, grout lines, adhesive, and pattern-specific waste, so you can try a few joint widths and see how the numbers move before you commit to a product.
A useful habit is to run it twice with different joint widths and compare the results. If the difference is under a few tiles, the choice is mostly about looks. If it is a full box or a bag of grout, it deserves a decision.
Safety and the Boring Parts That Matter
Cutting ceramic and porcelain tile, especially with a wet saw or an angle grinder, produces fine dust. Dry cutting can release respirable silica, so wet cutting and a proper mask are worth the extra effort. The Occupational Safety and Health Administration publishes guidance on silica dust that applies to anyone cutting tile at home as well as professionals.
Budget a little time for sealing, too. Cement based grout is porous and often needs a sealer, while epoxy grout does not but costs more and is harder to work with. Neither choice changes the tile count, but both change the total cost of the job, which is why the grout line deserves attention earlier than most people give it.
If you are comparing the cost side of a renovation more broadly, the EvvyTools directory groups related calculators by topic, and the blog has companion explainers on estimating materials for other home projects.
The Takeaway
Grout joints are not empty space on a plan, they are a real share of the surface. Because each tile owns half of its joint on every side, a wider joint means fewer tiles, and the smaller the tile, the bigger that effect becomes. Joint width also drives how much grout you mix, and the same 1/8 inch gap needs several times more grout per square foot on a mosaic than on a 12 inch tile.
Pick the joint width the product and the design call for, check the manufacturer's guidance, and then run the numbers with your real tile size instead of the shortcut. Add your waste allowance on top, order a spare box for future repairs, and the arithmetic will stop being a surprise at the register. This article is general information, and your tile manufacturer's installation instructions should always win. For a quick estimate with your own dimensions, EvvyTools has the calculator ready.