
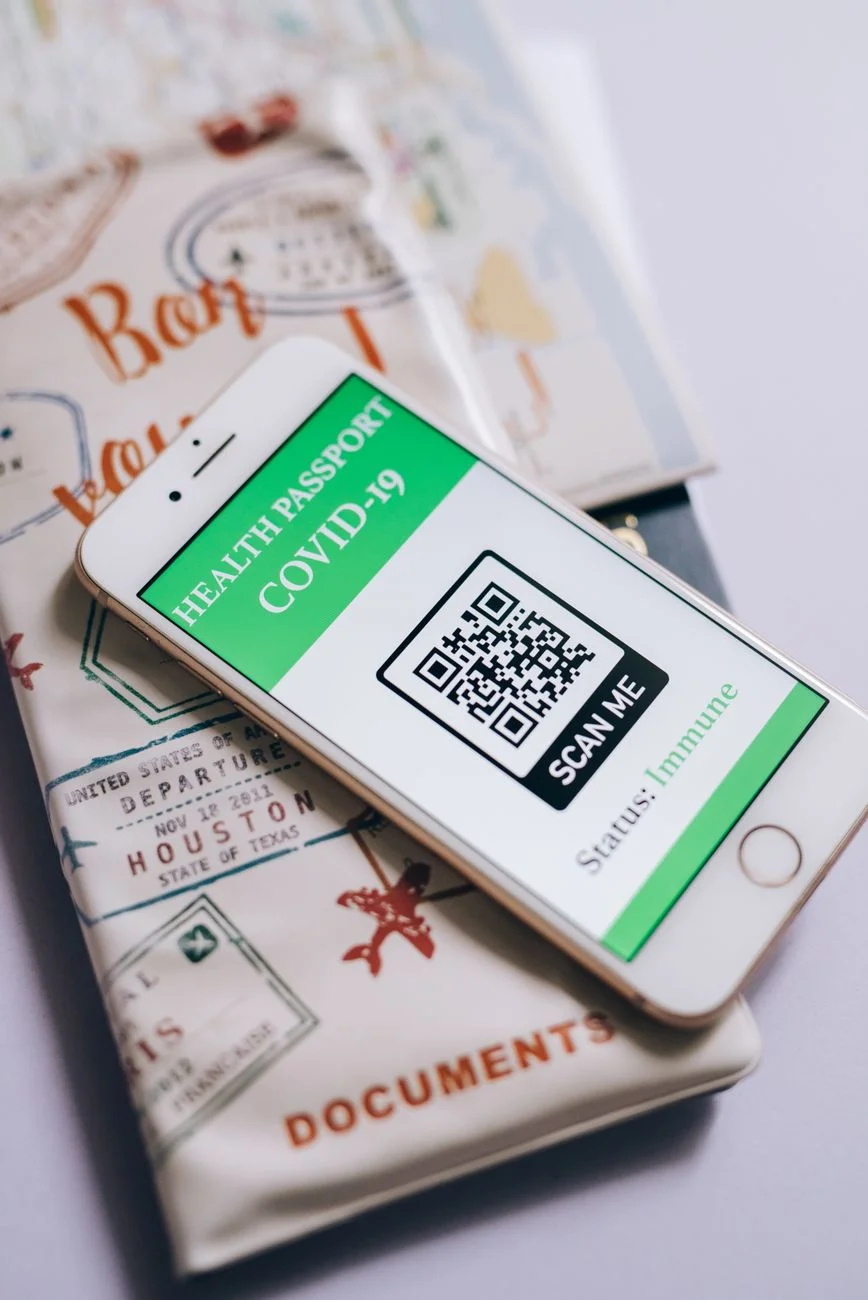
You have probably tried to scan a QR code on a menu, a flyer, or a shipping label and watched your phone's camera just sit there, refusing to recognize anything. That failure almost never comes down to bad luck. QR codes are built on a fairly forgiving error-correction system, but the moment you stack a logo on top, shrink the print size, or pick colors with too little contrast, you start eating into the margin that makes the code recoverable at all.
This guide walks through what actually happens inside a QR code, why certain design choices break scanning even when the code looks fine to your eye, and how to build one that works reliably the first time. Along the way we will cover the different data types you can encode, how error correction levels trade storage for reliability, and the print and testing habits that separate a code that works from one that quietly fails at the exact moment someone tries to use it.
Why QR Codes Still Matter (and When They Fail)
QR codes had a resurgence once restaurants, event organizers, and retailers needed a fast, contactless way to hand someone a link. That usefulness hasn't gone away. A code printed on packaging or a poster still beats asking someone to type a URL by hand, especially when the URL is long or the person is standing in a checkout line.
The failure mode people run into is almost always self-inflicted. A code gets exported at a resolution too small for print, or someone adds a logo that covers more of the pattern than the error correction level can compensate for. None of that is a QR code limitation. It is a design and export problem, and it is fixable once you understand what the scanner is actually reading.
How QR Codes Actually Encode Data
A QR code is a grid of black and white squares, called modules, arranged according to a public specification maintained since the code's invention by Denso Wave. Three of the corners carry large square "finder patterns" that let a scanner detect the code's position and orientation instantly, even if the photo is taken at an angle.
The rest of the grid encodes your actual data, whether that is a URL, a block of WiFi credentials, or a contact card, using a binary pattern that a scanning library decodes bit by bit. Bigger payloads need a bigger grid, which is why a plain URL produces a much smaller, simpler-looking code than a full contact card with a name, phone number, and address packed in.
 Photo by Julio Lopez on Pexels
Choosing the Right QR Code Type for the Job
Not every QR code should point at a URL. A WiFi QR code encodes the network name, password, and security type directly, so a phone's camera can join the network without anyone typing a password on a shared keyboard. A contact QR code, often built on the vCard format, drops a full business card into someone's phone contacts in one scan instead of sending them to a webpage first.
Picking the wrong type creates unnecessary friction. If your goal is getting someone onto your guest WiFi, a URL that links to a page explaining the password is a worse experience than a code that just connects them. The free QR Code Generator on EvvyTools supports URLs, plain text, WiFi credentials, contact cards, email, phone numbers, and SMS, so the type question is really about matching the format to what you want the scan to accomplish, not a technical limitation.
Error Correction Levels: L, M, Q, and H
Every QR code is built with one of four error correction levels, and this single setting decides how much of the code can be damaged, covered, or misprinted before it stops scanning. Level L recovers from roughly 7 percent data loss, M recovers around 15 percent, Q around 25 percent, and H, the highest level, can recover from about 30 percent loss.
This works through Reed-Solomon error correction, the same family of math used in CDs, DVDs, and satellite communication, which adds redundant data so a scanner can reconstruct missing or corrupted sections. Higher error correction adds more redundant modules, which makes the grid denser and slightly harder to scan from a distance, so it is a genuine trade-off rather than a setting you should max out by default.
For a plain URL on a clean digital screen, level M is usually enough. For anything printed on paper that will get handled, folded, or partially covered, or for any code you plan to put a logo on top of, level H is the safer default because it gives the decoder the most room to work with.
Custom Colors and Logos: How Far You Can Push It
A black-on-white QR code will always be the most reliable option, because it maximizes the contrast a scanner's image processing relies on to separate modules from background. That said, most scanning libraries tolerate a fair amount of customization if you respect two rules: keep strong contrast between the foreground and background colors, and never touch the three finder pattern squares in the corners.
Adding a logo in the center works because the center of a QR code, particularly at error correction level H, contains enough redundant data to survive a moderate amount of coverage. The mistake people make is sizing the logo too large or placing it off-center where it overlaps functional data modules the decoder actually needs. Keep a logo under roughly 20 to 25 percent of the code's total area, centered, and test the result before you commit it to a print run.
 Photo by Jan van der Wolf on Pexels
Sizing and the Quiet Zone: What Print Actually Requires
A QR code needs a blank margin around it, called the quiet zone, so a scanner's software can distinguish where the code starts and ends against its surroundings. Cropping a code too tightly, or placing it directly against a busy background image with no border, is one of the most common reasons a code that scans fine on screen fails once it is printed.
For minimum print size, a rough rule of thumb is that a code should be no smaller than about an inch square for close-range scanning, like a business card or table tent, and larger for anything scanned from further away, like a poster or a storefront window. The denser the code, meaning the more data or the higher the error correction level, the larger it needs to be printed to keep individual modules distinguishable to a camera.
The quiet zone requirement, along with the module grid and error correction structure, is part of the ISO standard that defines how a compliant QR code has to be built. Most design tools handle this automatically by leaving a built-in margin around the exported image, but if you are placing a code inside another graphic yourself, do not crop that margin away just because it looks like empty space.
WiFi QR Codes: The Auto-Connect Trick and Its Limits
A WiFi QR code works by encoding the network's SSID, password, and security protocol, most commonly WPA, into a structured text string that a phone's camera app recognizes and offers to join automatically. This is genuinely useful for guest networks in offices, short-term rentals, or events where you would otherwise be reading a password off a sticky note.
The limitation is that not every device's camera app supports the WiFi QR format out of the box, particularly older Android versions that need a dedicated scanning app rather than the native camera. It is worth testing the WiFi code on a couple of different phones before you rely on it exclusively, and printing the plain-text password nearby as a fallback rather than assuming every guest's phone will cooperate.
Testing Your QR Code Before You Print or Publish It
The single most skipped step in QR code design is testing the actual output before it goes live. A code that renders fine on a laptop screen at full brightness can behave completely differently printed at 40 percent gray toner on cheap paper, or displayed on a phone screen at low brightness across a table.
Test on at least two different phone models and camera apps, at the actual size and medium you plan to use, meaning print it out if it is going on paper rather than only checking it on screen. Cover small sections deliberately to confirm your error correction level holds up the way you expect, especially if you have added a logo. This costs a few minutes and catches problems before a hundred printed flyers are sitting in a box with a code that does not work.
If you are building QR scanning into your own product rather than just generating codes to print, open-source decoding libraries like ZXing are worth a look before you write decoding logic from scratch. They handle the finder-pattern detection and error correction math for you, and testing your generated codes against a library like this is a good sanity check independent of whatever phone camera app you are using.
 Photo by Erik Mclean on Pexels
Common QR Code Mistakes That Break Scans
Most broken QR codes trace back to a short list of repeat offenses. Low contrast between foreground and background color is the most common, followed by logos placed too large or slightly off-center. Exporting a code at a resolution meant for screens and then blowing it up for a large-format print job is another frequent cause, since scaling up a low-resolution image blurs the sharp edges a scanner depends on.
Encoding a URL that later gets changed or taken down is a quieter failure mode. The code itself still scans perfectly, it just sends people somewhere broken, which looks identical to a scanning failure from the user's point of view. If you are printing codes for anything long-lived, like a sign or product packaging, point them at a URL you control and can update, rather than a temporary campaign link.
Building and Testing Your Own QR Code
Once you know what actually controls reliability, generating a working code is mostly about picking the right settings rather than trial and error. The QR Code Generator supports URLs, WiFi credentials, contact cards, email, phone numbers, and SMS, with adjustable color and error correction so you can match the settings above to whatever you are printing or displaying.
Before you commit a code to a print run or a public page, run it through the same testing checklist covered above, on more than one device, at the size it will actually be used. For more on how EvvyTools' tools are put together, visit the tools directory or browse the blog for more practical guides like this one. You can also head back to the EvvyTools homepage to see the full lineup of free calculators and utilities.