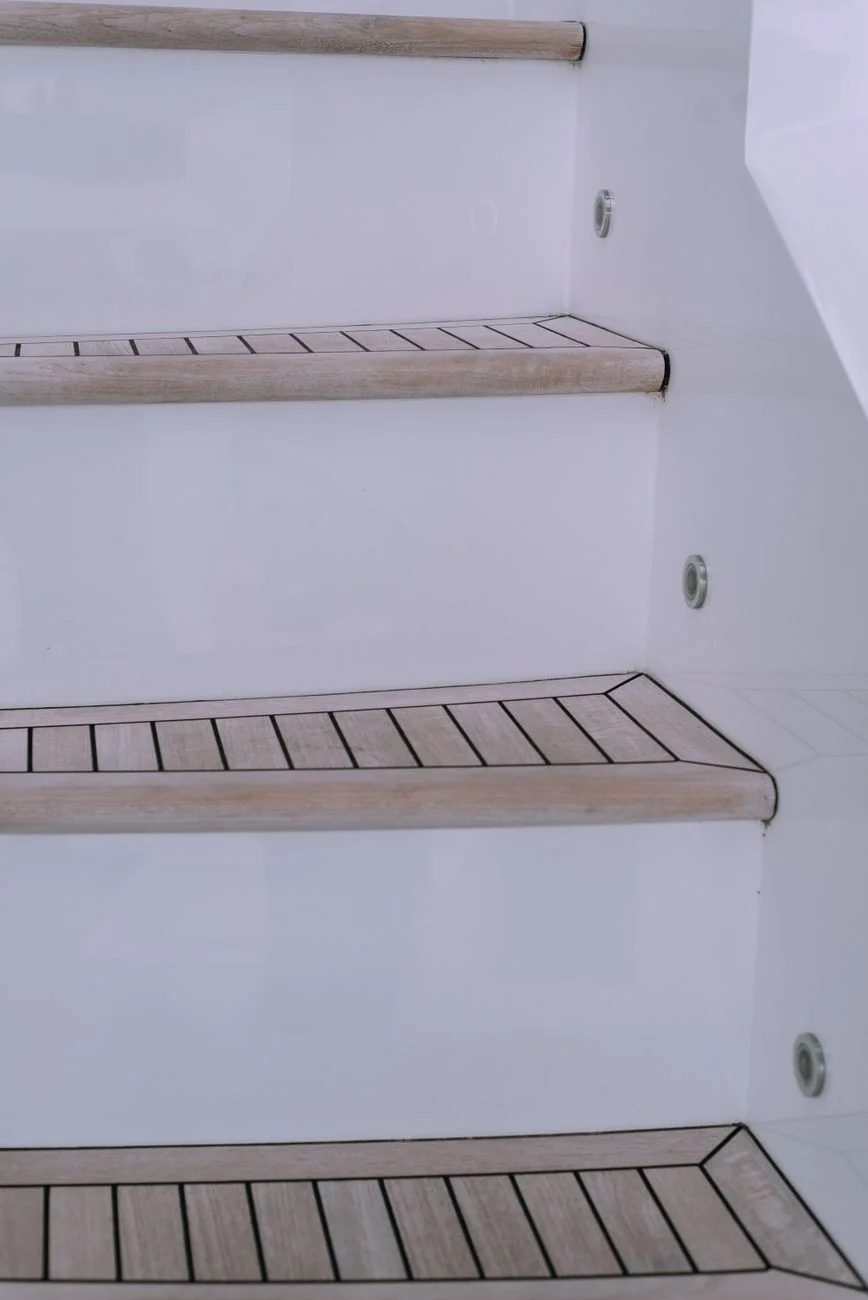

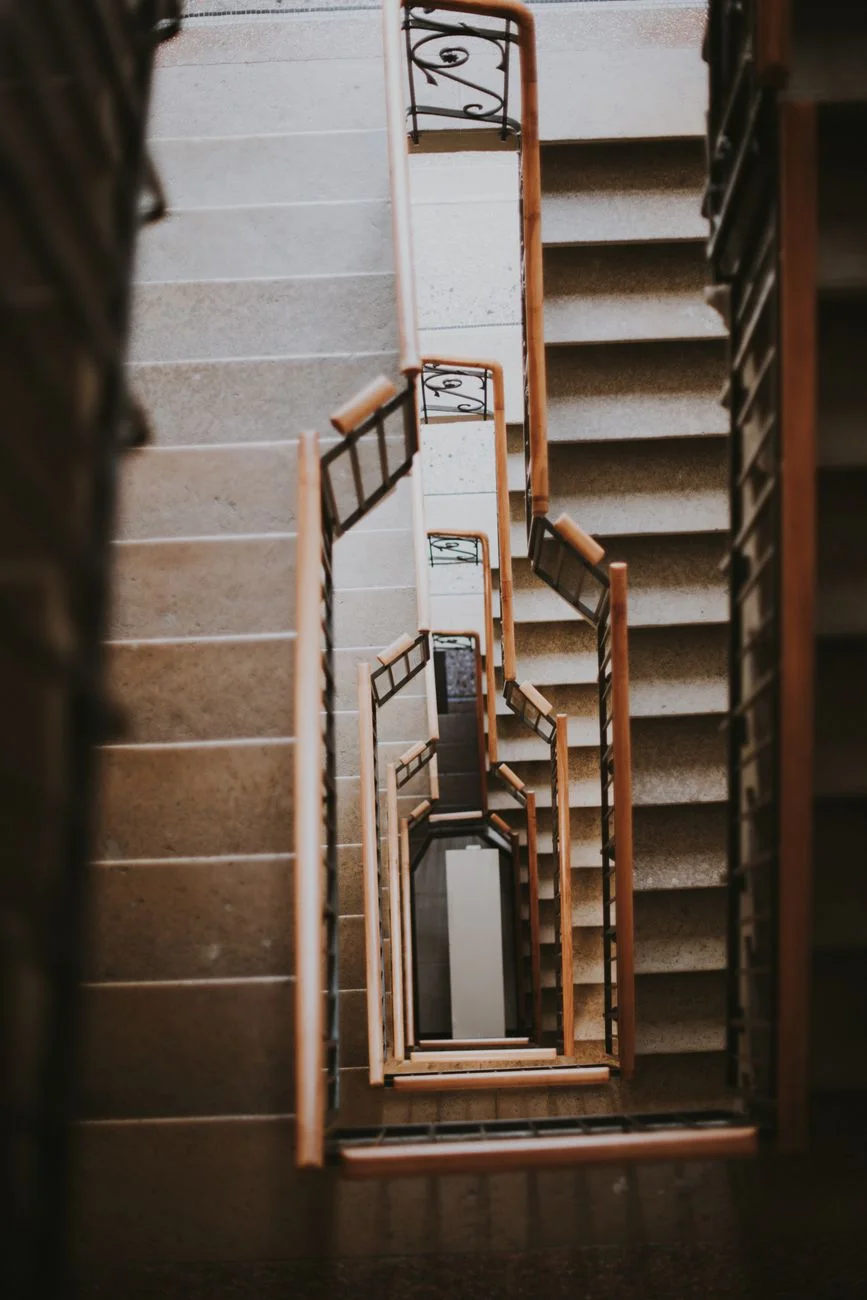
A contractor in Ohio built a beautiful basement staircase last spring. Solid oak treads, a clean handrail, good lighting. The inspector failed it anyway, because the fourth riser measured a quarter inch taller than the rest. Nobody had planned to build it that way. It just happened, one small measurement error compounding down the stringer until step four was noticeably off from step three.
That's the part about stair math that surprises first-time builders: the numbers themselves aren't hard. What's hard is holding every single step to the same measurement, cut after cut, without a spreadsheet or calculator doing the division for you.
What Building Inspectors Actually Measure
Inspectors aren't grading your staircase on how it looks. They're checking a short list of measurements against the International Residential Code, and they check them with a tape measure and a level, not a tape measure and a guess.
The core numbers are riser height (how tall each step is), tread depth (how deep each step is front to back), headroom (clearance above the stairs), and handrail height. Most residential code, based on the IRC that most U.S. jurisdictions adopt in some form, caps riser height around 7.75 inches and requires a minimum tread depth around 10 inches. Local amendments vary, so the exact numbers on your permit can differ slightly from a neighboring county. The International Code Council publishes the base code that most local rules are built from, and it's worth a look before you finalize a design.
Inspectors typically bring a folding rule or a digital angle finder, not a tape measure alone, because stair angle matters too. Most residential stairs need to fall between roughly 30 and 35 degrees from horizontal. Go steeper and you're building something closer to a ship's ladder than a staircase, which is its own code violation even if riser height and tread depth both technically pass.
 Photo by Саша Алалыкин on Pexels
The Rise and Run Math Behind Code Compliance
Start with total rise: the exact vertical distance from the finished floor below to the finished floor above. Measure it with a level and a long straightedge, not by eyeballing the floor joists, because "finished floor" includes flooring material that isn't installed yet.
Divide total rise by your target riser height to get a number of risers, then round to a whole number. Divide total rise again by that whole number to get your actual riser height. That's the number every single step needs to hit. It's rarely a clean number like 7 inches. More often it's something like 7.14 inches, and every riser has to be built to that number, not rounded to the nearest convenient measurement.
Why Consistency Matters More Than the Exact Number
Here's the part that fails more staircases than any single dimension being slightly out of range: variance between individual steps. Most code allows a maximum variance of around 3/8 inch between the tallest and shortest riser in a single flight. That's a tighter tolerance than most people expect, and it's not measured against the code maximum. It's measured step to step, against each other.
This is exactly what happened in the Ohio basement. Riser one through three were all within a sixteenth of an inch. Riser four picked up the accumulated rounding error from the layout marks, and by the time the inspector's digital level caught it, the whole flight needed reworking. A rise and run layout done by hand, with a tape measure and a calculator app doing rough division, is exactly where that kind of drift creeps in.
Headroom, Handrails, and the Rules People Forget
Riser and tread numbers get most of the attention because they're the ones people calculate first. Headroom is the one that gets missed, especially on basement stairs retrofitted into an existing floor opening. Most residential code requires at least 6 feet 8 inches of clear headroom, measured vertically from the nose of each tread to whatever is above it, including ductwork or a dropped ceiling.
Handrail height typically needs to land between 34 and 38 inches measured from the tread nosing, and any flight with four or more risers generally needs a graspable handrail on at least one side. The National Association of Home Builders keeps practical guidance for builders navigating these requirements alongside the formal code text, which is often easier to parse than the code language itself.
Handrail diameter matters too, and it's the kind of detail that never comes up until an inspector wraps a hand around it. Most code wants a graspable profile between roughly 1.25 and 2 inches across, which rules out a lot of decorative newel-post-style rails that look sturdy but are too wide to actually grip in a fall. Guardrails on any open side of a stair or landing generally need to resist a fair amount of lateral force and keep gaps small enough that a small child can't pass through them, typically under 4 inches. The U.S. Access Board maintains federal guidance on stair and ramp safety dimensions that many local guardrail amendments are ultimately built from.
 Photo by Erik Schereder on Pexels
Stringer Length Is Not Simple Subtraction
Once rise and run per step are locked in, the stringer, the diagonal board the treads sit on, needs its own calculation. It's tempting to treat stringer length as a straightforward hypotenuse problem, and geometrically it is: the square root of total rise squared plus total run squared. But total run isn't just tread depth times step count. It depends on whether the top step is flush with the upper floor or counted as its own tread, a detail that trips up even experienced framers on their first stairway of a project.
Cutting a stringer that's off by even an inch throws every riser calculation out with it, because the stringer is what all the layout marks reference. Get the stringer math wrong and no amount of careful riser measurement downstream will fix it.
Most builders lay out a stringer with a framing square and a set of stair gauges clamped to the tool at the riser and tread numbers, then mark and cut each notch by hand. That process is exact only if the riser and tread numbers fed into it are already exact. Feed it a number rounded to the nearest eighth of an inch, repeated seventeen times down a long flight, and the accumulated error is enough to fail an inspection even though every individual cut looked fine on its own.
 Photo by Marina Zvada on Pexels
Fitting Stairs Into the Space You Have
Total rise is usually fixed by your floor-to-floor height. Total run is where the real constraint shows up, because most homes don't have unlimited horizontal space for a staircase. A steeper staircase (higher risers, shallower treads) uses less floor space but pushes against code minimums for tread depth and can fail an inspection even if the math is technically defensible.
Winder stairs, spiral stairs, and stairs with a landing all have their own rules layered on top of the basic rise and run formula, which is exactly where a lot of DIY projects run into numbers that don't add up on paper. The National Institute of Standards and Technology has published research on stair geometry and fall risk that's worth skimming if you're designing something outside a standard straight flight.
Where a Calculator Actually Earns Its Keep
None of this math is advanced. It's addition, division, and a square root. The problem is doing it correctly for every single step, then re-checking it after you account for finished flooring thickness, then checking it again if the total rise changes because a contractor adjusted the subfloor height. Doing that by hand across a dozen risers is exactly where small errors accumulate into a failed inspection.
That's the gap the free Stair Calculator by EvvyTools is built to close. Enter your total rise and available run, and it works out riser height, tread depth, and step count automatically, flagging anything that falls outside typical IRC ranges before you've cut a single board. It also renders a real-time side view diagram, so you can see whether headroom and the top-step math line up before you're standing in the stairwell with a saw in hand.
 Photo by Vitaly Gariev on Pexels
That diagram is worth the two minutes it takes to fill in, because it catches the kind of mistake that's obvious once you see it drawn but easy to miss in a column of numbers: a total run that leaves too little clearance at the top of the stairs, or a bottom step that lands a few inches short of the finished floor because someone forgot to account for flooring thickness that hadn't been installed yet when the framing happened.
What to Do When the Math Doesn't Work
Sometimes the numbers just don't fit the space, especially in older homes with unusual floor-to-floor heights. When that happens, the fix usually isn't forcing risers or treads outside code minimums; it's adjusting where the staircase starts, adding a landing to break up total run, or, for genuinely tight spaces, looking at a winder or spiral configuration that has its own separate code allowances. A local building department can usually tell you in a five-minute phone call whether your jurisdiction has adopted any amendments to the base IRC numbers, which is worth doing before you finalize a design.
For general background on stair geometry and terminology, the Wikipedia article on stairs is a solid, stable reference for the vocabulary inspectors and contractors use interchangeably (rise, run, nosing, stringer) if any of it is new to you.
Getting It Right the First Time
The staircases that pass inspection on the first visit almost always have one thing in common: someone ran the numbers before the first board was cut, not after the fourth riser turned out short. Total rise measured precisely, riser height calculated and held consistent to within a fraction of an inch, tread depth checked against local code, headroom confirmed against anything overhead.
Run your own numbers with the Stair Calculator before you touch a saw, browse EvvyTools' full tools directory for related renovation calculators, or check the blog for more code-compliance breakdowns like this one. A few minutes of arithmetic up front is a lot cheaper than reframing a staircase after a failed inspection.