Most flooring estimates start with a measuring tape and end with a trip back to the hardware store. The calculation looks straightforward: measure the room, multiply length by width, and buy that many square feet. In practice, that math leaves you short every time you're working with a room that isn't a perfect rectangle, a material that requires specific waste allowances, or an installation pattern that increases cut waste.
Buying too little flooring stops an installation mid-project. The replacement box you need is either out of stock, or it comes from a different production run with a shade that doesn't quite match. Buying too much costs money you don't need to spend, though leftover material from the same lot is genuinely useful for repairs later.
This guide walks through how flooring math actually works: the waste factors for different materials and installation patterns, how to handle rooms with irregular shapes, and how to convert your adjusted square footage into the exact number of boxes before you head to the store.
 Photo by Pixabay on Pexels
Why Square Footage Is Only the Starting Point
The fundamental problem with raw square footage is that it counts the area to be covered, not the material consumed while covering it. Flooring installation always produces waste: off-cuts at walls and doorways, material discarded after bad cuts, tiles cracked during installation, and short pieces that can't be reused after trimming.
Waste Factors Vary by Material and Pattern
Each flooring type has a standard waste buffer that installation professionals use as a baseline. For straight-lay hardwood or laminate planks installed parallel to the longest wall, the industry recommendation is 5 to 10 percent above your net square footage. For diagonal installations, where every board gets cut at a 45-degree angle at room edges, that figure rises to 15 percent because the triangular off-cuts can rarely be repurposed.
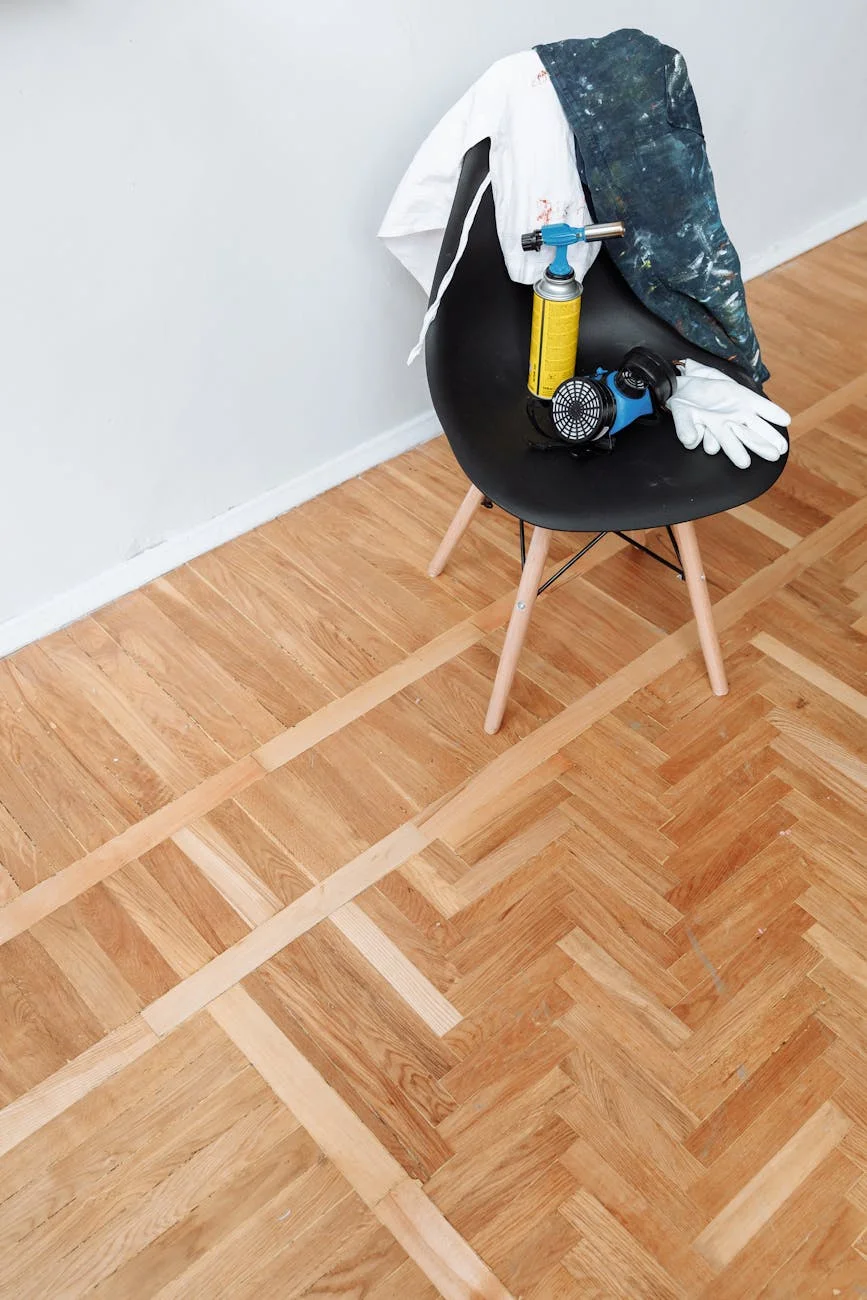
Large-format ceramic or porcelain tiles (anything 18x18 inches or larger) carry a 10 to 15 percent waste recommendation. A single bad cut on a large tile wastes more material per mistake than a small mosaic tile would. Herringbone and chevron hardwood patterns push waste to 20 to 25 percent because the geometry requires a high proportion of angled cuts throughout the entire installation, not just at the edges.
Luxury vinyl plank with a wood-grain pattern repeat adds another variable: the pattern offset. When you start a new row, you often can't begin with a full plank and maintain the visual repeat - you need to cut the starting piece, and the off-cut is sometimes too short to use as the starting piece for the next row. On a large floor, pattern alignment alone can account for 12 to 15 percent of total material.
The National Wood Flooring Association maintains technical installation guidelines that standardize waste allowances by material and method. The Tile Council of North America publishes equivalent guidance for ceramic and porcelain tile installations.
Room Shape Changes the Calculation
A 12x14 foot bedroom is simple. An L-shaped kitchen with an island footprint to subtract, a walk-in pantry alcove to include, and a half-step down to a dining area is not. For any room that isn't a rectangle, the calculation requires breaking the floor plan into rectangles, calculating each section separately, and summing the results before applying the waste factor.
The direction of the installation also matters. Running planks lengthwise down a hallway minimizes cross-cuts and reduces waste. Running them perpendicular to the hallway direction means more cuts at each end. Some installers optimize the layout direction to reduce material waste before ordering; for most homeowners, using the slightly higher end of the waste factor range is the simpler approach.
How to Calculate Your Flooring Order Step by Step
Step 1: Measure Every Area Being Floored
Walk the space with a tape measure and a notepad. For rectangular rooms, measure length and width at their widest points. For L-shaped or irregular rooms, divide the floor plan into two or three rectangles and calculate each area separately. Include closets - those get floored too. Subtract fixed structures the flooring goes around: built-in cabinets, kitchen islands, hearths, and structural columns.
Write down each area in square feet and add them together. This total is your gross floor area.
Step 2: Apply the Right Waste Factor
Multiply your gross floor area by the appropriate factor for your material and pattern:
- Straight-lay hardwood or laminate (parallel to wall): multiply by 1.10
- Diagonal hardwood or laminate: multiply by 1.15
- Ceramic or porcelain tile under 18x18 inches: multiply by 1.10
- Large-format tile 18x18 inches or larger: multiply by 1.15
- Herringbone or chevron hardwood: multiply by 1.20 to 1.25
- Patterned luxury vinyl plank: multiply by 1.12 to 1.15
The result is your adjusted square footage - the actual quantity of material to order.
Step 3: Use EvvyTools to Confirm the Calculation
Before placing your order, run your numbers through EvvyTools. The Flooring Calculator accepts room dimensions for rectangular rooms and multi-section floor plans, lets you select the flooring type and installation pattern from a dropdown, and applies the correct waste factor automatically. It outputs adjusted square footage, box count based on the per-box coverage you enter, and a cost breakdown with and without waste.
Using the calculator makes it easy to compare scenarios. For example: a 252-square-foot living room (14x18 feet) with diagonal hardwood. Applying the 15% factor gives 290 square feet needed. At 19.5 square feet per box, that's 14.9 boxes - so you order 16, keeping one box as a future repair buffer.
That two-box difference over the raw calculation costs roughly $60 to $80 at typical prices for mid-grade hardwood. Running short mid-installation costs far more in time, delivery fees, and the risk of a dye-lot mismatch.
Step 4: Convert to Boxes at the Right Coverage Rate
Every flooring product lists how much area one box covers. This figure is on the box label and in the product spec sheet online. Divide your adjusted square footage by the per-box coverage for your specific product to get the box count.
Round up to the nearest whole box. Most contractors recommend buying one box beyond the calculated need as a long-term repair buffer: flooring from different production runs can vary slightly in color or texture, and having original material on hand for a repair years later is worth the cost.
 Photo by Erik Mclean on Pexels
Four Mistakes That Cost Homeowners Extra
Using a single waste factor for all materials. Ten percent works well for straight-lay laminate in a simple rectangular room. Apply it to a herringbone tile installation and you will run short. Match the waste factor to your specific material and pattern. When in doubt, use the upper end of the recommended range.
Ignoring pattern repeat waste on patterned products. Patterned tile and luxury vinyl plank with visual repeats create alignment waste that raw square footage calculations don't capture. If your product has a 12-inch pattern repeat, account for that before ordering. The pattern repeat dimension is listed in the product spec sheet and on the packaging.
Buying from different production lots. Ceramic tile, hardwood, and vinyl plank are manufactured in batches. Color, surface texture, and gloss level vary slightly between production runs, even for the same SKU. Once you have your box count, buy everything at once from the same production lot. Check that every box in your cart shares the same lot number before checkout, particularly when buying from in-store inventory that has been restocked.
Skipping the subfloor assessment before ordering. Your flooring calculation tells you how much material to buy. It says nothing about the condition of the subfloor below. High spots in a wood subfloor, moisture concerns in a concrete slab, and old adhesive residue all need to be addressed before installation begins. Discovering a significant subfloor problem mid-installation can pause the project for days and add unexpected costs on top of your material budget. Walk the floor, check for soft spots, and assess the condition before finalizing your material order.
 Photo by RDNE Stock project on Pexels
Related Tools and Resources
If you're redoing multiple surfaces in the same renovation, a few additional tools are worth running before you start buying materials.
The Tile Calculator at EvvyTools goes further than the general flooring calculator for tile-specific projects, including grout quantity by joint width and adhesive quantity by trowel size and tile weight.
The Paint Calculator at EvvyTools handles wall and ceiling coverage estimates for the same rooms, so you can run all your material calculations before the project starts rather than piecemeal as you go.
For installation technique guidance beyond the material math, This Old House's flooring installation resources cover material-specific methods from subfloor prep through finish. The BuildingScience Corporation's guidance on flooring over concrete is essential reading if you're installing wood, laminate, or luxury vinyl over a concrete slab where vapor management matters.
If you're weighing different flooring materials for the same space, Consumer Reports' flooring buying guide provides comparison data across hardwood, tile, LVP, and laminate for durability, maintenance, and cost.
 Photo by La Miko on Pexels
Flooring math is more than length times width, and the gap between the simple estimate and the real order has cost plenty of homeowners an extra trip to the hardware store - or worse, a short run partway through an installation. The EvvyTools Flooring Calculator handles the waste factor selection, adjusted square footage, and box count conversion automatically. Enter your room dimensions and material type, and you get a precise order rather than a guess. Get the calculation right before the project starts, and the installation goes exactly as planned.